RECENT POSTS


10.February.2023
What's this plant? Digital tools to easily identify plants in your garden
0 Comments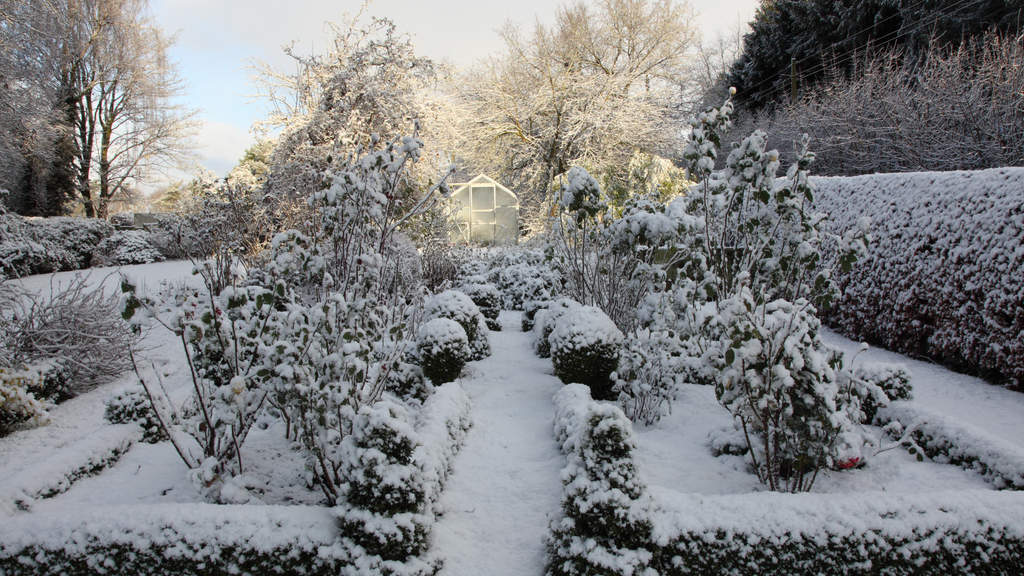
22.December.2022
Easy ways to keep snow and frost at bay – how to navigate it in your garden
0 CommentsSpring-clean time! Prepping your garden for the season of growth

Is your garden ready for spring? There's still time to prime!
Prepping your garden for the spring season needn't be overwhelming. Consider it a labour of love. In just a few steps, you can have your garden season-ready to ensure a bounty of blooms when the sun is up high and the days are merry.
STEP 1: PLAN
Consider what you want to grow this year and when it needs planting to ensure you can enjoy it at its best.
If you have a planting calendar, this means you can spend your time nurturing plants instead of worrying about what you should be doing and when.
To produce a blooming garden, timing is everything. Plot out which bulbs you’ll use to ensure a glorious bounty of blooms.
STEP 2: PREP FOR THE SPRING PREP
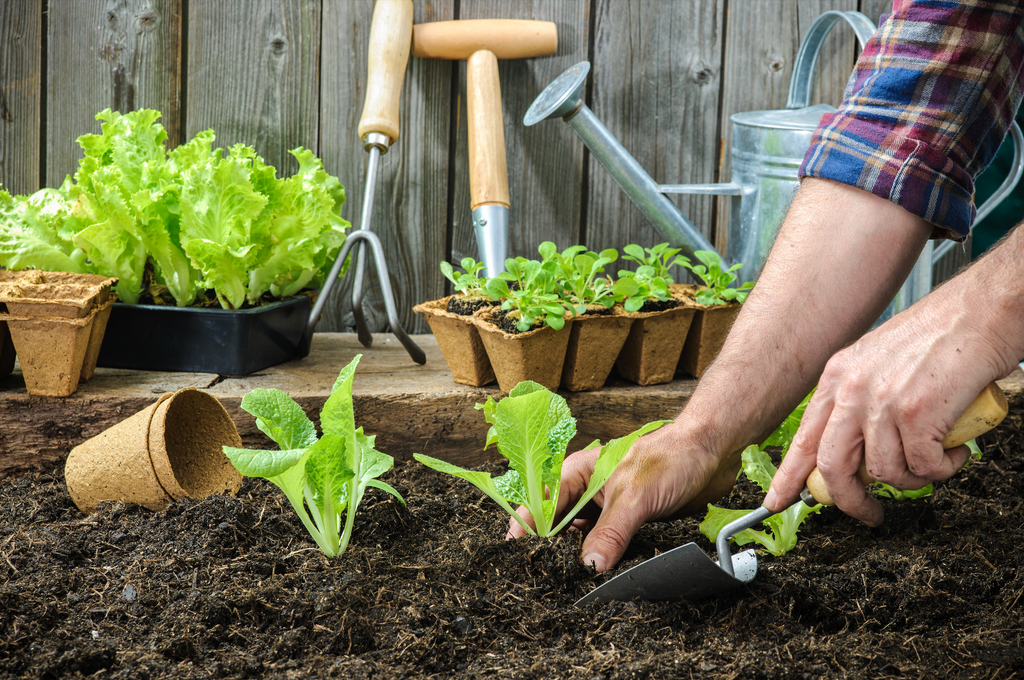
Let's take a look at the tools you'll need in your arsenal to prep your garden for the season of blossoms. Whether you're just starting out with your sprouting green fingers, or if you're a gardening pro, this is your chance to either stock up with new tools or assess and replace the rusty old rake that's never going to be repaired. Here's what you'll need:
- Clippers for pruning (small and large)
- Padded gloves
- A spade to dig holes for plants, and a shovel for transporting soil and fertiliser
- Rakes and trowels: Rakes for clearing the garden of debris and loosening soil. Trowels for digging holes. Get these in two varieties – hand-held and standard
- Hand and large rake to clear the garden of debris and to loosen soil
- Knee pads to comfortably garden while kneeling down
- Sturdy, hard-bristled garden broom
- Compostable garden bags
- Optional extra: A water pressure washer (perhaps borrow one from a friend)
Be sure to toss out those broken tools that have been sitting in the "to be repaired" pile. Turf them now and replace them with good tools you'll be able to use right away.
Clean your existing tools of mud using water and a stiff brush. Clean tools are easier to maintain and they’ll be less likely to break.
STEP 3: TIDY UP
Consider a wider view of your garden area. Replace any rotted wood, fence panels and trellising. Tidying and cleaning the greenhouse will also help ensure it works effectively. It's time to dig out your pressure washer and hose down the patio, greenhouse, walls and fences. An instant uplift! Bring out the lawnmower and give it a good clean before the first cut of the season.
Tidying and cleaning your greenhouse or garden storage will help ensure it works effectively.
STEP 4: RAKE
Clear your lawn and garden of fallen leaves, branches, dead plants, and other debris, adding these biodegradables to the compost heap. Ensuring that your soil has been forked over and is full of the right nutrients will have a positive impact on the bulbs and seeds which will be planted in the coming months. Put a hold on disposal of the weeds until you’ve read Step 6.
STEP 5: PRUNE
It's time to wield those shiny new clippers. Aim straight for the perennials on their seasonal cycle. Prune them as soon as you see new growth. Trim any dead stems to bring plants out of a dormant stage.
STEP 6: WEED
#Weediot101: Don't add weeds to the compost that you'll be using. The weeds you blindly toss atop the pile will most certainly re-feed weeds back into your garden.Be sure to get stuck in while your topsoil is still damp. Pull those weeds to stop them from seeding other areas of your lawn (and dispose of them separately).
STEP 7: TEST
Time to get dirty and test your soil. And this is when you see new growth on old plants. Test that soil before introducing new plants into your garden. Figure out what kind of fertiliser you might need – be that a certain nutrient-rich fertiliser, compost, or top dressing. Shop our plant care products here
STEP 8: TRANSPLANT
Slap on those gloves and call yourself "Doctor". Seek out your strongest patients, and divide and conquer. For any plants, you are transporting or turning into seedlings, divide and transplant them first. Keep in mind that plants in the early growth cycle typically tolerate stress better and recover faster. Kinda like the uni days.
STEP 9: STAKE
Think about your future self. Do you want to wrestle with unruly, mature plants? If not, stake them early as they start to grow. You're not trying to win any garden awards, so deal with the unaesthetically-pleasing rods for the moment.
STEP 10: PLANT
Perhaps you've purchased some plants and seeds during the winter season. Now is the time to plant them. Some keen gardeners may already have plants and seeds bought earlier in the year – hindsight is a wonderful thing.
STEP 11: MULCH
Despite his dowdy, non-heroic label, Captain Mulch has many hidden powers, much like your daily multivitamin.
You'll want to add mulch to your newly transplanted and planted plants, once the soil is warm and a bit dry. Disclaimer: The aforementioned step is not compulsory, however, your blossoms will perform better. They'll exude more vitality due to mulch's effects, namely: cooling plants at the roots; feeding the plant, and conserving water.
STEP 12. TRIMMING
To ensure a more polished garden, trim and edge your garden, especially on borders and between flower beds. This finishing touch will elevate the look of your garden. Think of it as a well-earned pedicure.
Ready to do the spring garden clean-up the right way?
Spring is on our doorstep. Are you getting anxious to head out to the garden and clean things up? The jobs won’t get done on their own.
Plan and rehabilitate, working your way to a glorious summer showing off your well-loved garden’s true potential!